Epoxy coat masters

Transform your workshop floor with epoxy flooring.


In-Home Services

Flake Epoxy Flooring for Your Workshop

You can completely transform the look of your workshop or mancave by having a flake flooring system installed. We use a system that homeowners often think of as epoxy. The end product looks similar, but all of the products we will use on your shop floor are superior to epoxy and will hold up over time.


1

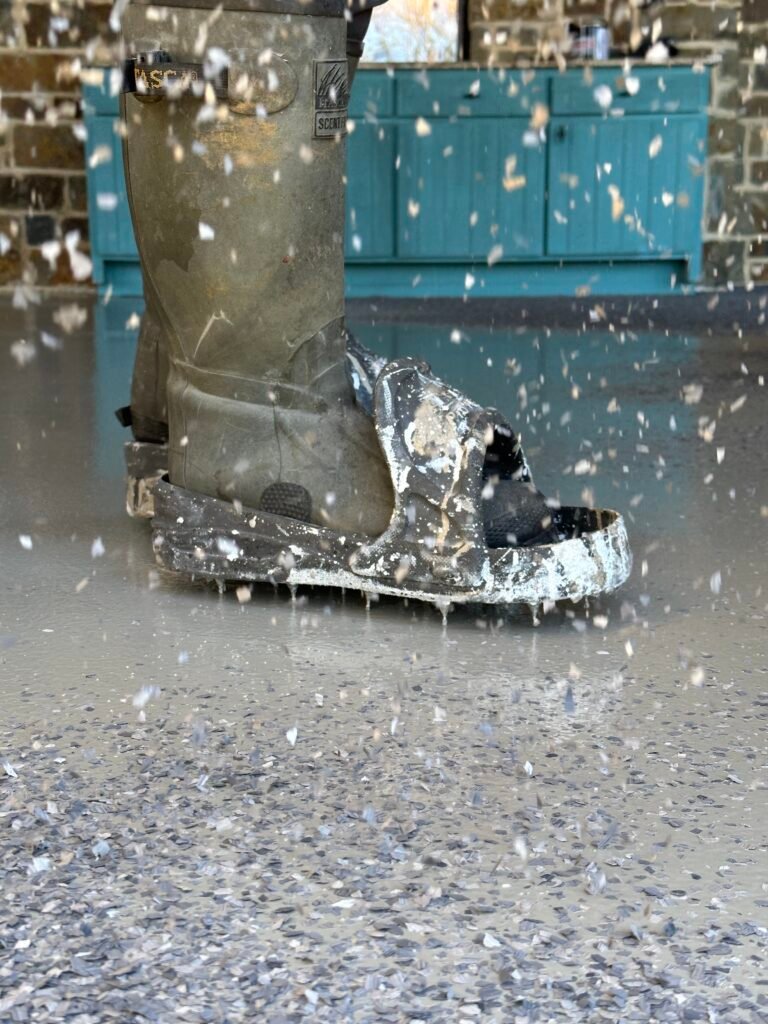
Concrete Floor Preparation

  • Transform your workshop or mancave with a professional epoxy floor that starts with meticulous preparation. Our skilled team begins by thoroughly sanding the concrete surface to remove existing sealers, paint, oil stains, or workshop debris that could prevent proper adhesion. We then meticulously vacuum every inch to eliminate dust and fine particles that might compromise the bond. Workshop floors often have unique challenges—tool drops, chemical spills, or machinery damage—which we carefully patch with high-grade concrete repair materials to create a smooth, uniform surface. This crucial preparation stage ensures your epoxy coating will withstand heavy tools, rolling carts, and the daily demands of your creative or recreational space.

2

Base Coat and Flake Application

  • With your floor properly prepared, we apply our premium flexible rubberized urethane base coat—ideal for workshops and mancaves where dropped tools and heavy equipment are common. This specialized formula is designed to absorb impact and move with your concrete, preventing cracks and delamination even with the weight of tool chests or gaming setups. While the base coat is still wet, we broadcast custom-colored polymer flakes across the entire surface. For workshops, we often recommend fuller flake coverage for maximum durability and camouflaging of future stains, while mancaves might benefit from decorative patterns or team colors. These durable flakes not only create a personalized, professional appearance but also add crucial slip resistance when working with tools or entertaining friends.

3

Scraping and Palm Sanding

  • After the base coat cures, our craftsmen carefully scrape the surface to remove any loose flakes and create a more uniform texture. We then perform detailed palm sanding across the entire floor to smooth any sharp edges—a crucial step for mancaves where you might walk barefoot or workshops where you’ll spend hours standing. This meticulous hand-finishing process ensures comfort without sacrificing durability, allowing you to transition seamlessly from intensive project work to relaxation in your personal space. The professional finishing touch makes cleanup easier after woodworking projects or weekend gatherings and creates a space you’ll be proud to show off to fellow enthusiasts.

4

Polyaspartic Top Coat

  • The final and most critical step for your workshop or mancave floor is our advanced polyaspartic top coat application. This military-grade clear sealer creates an impenetrable barrier against common workshop threats like oil, solvents, paint spills, and dropped tools, as well as mancave hazards like beverage spills and food stains. Unlike traditional epoxy top coats, our polyaspartic formula cures rapidly, getting you back to your projects or relaxation quickly. It’s also UV-stable, maintaining its clarity even near windows or open garage doors. The high-gloss, showroom-quality finish not only enhances lighting in your work area but also creates the perfect backdrop for displaying prized tools, collectibles, or entertainment systems. Our polyaspartic top coat ensures your personal space remains beautiful and protected through years of projects, hobbies, and gatherings.

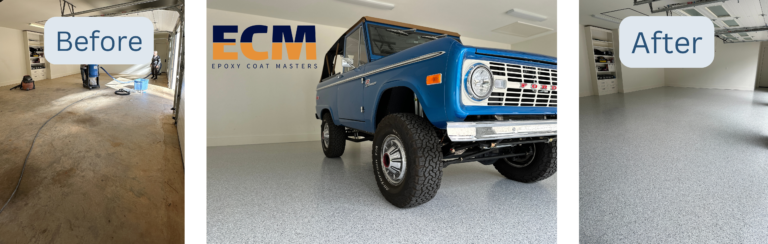
Workshop Floor Transformations

Flake flooring – with a rubberized urethane base and a polyaspartic top coat – can provide you with a durable and beautiful floor for your workshop.

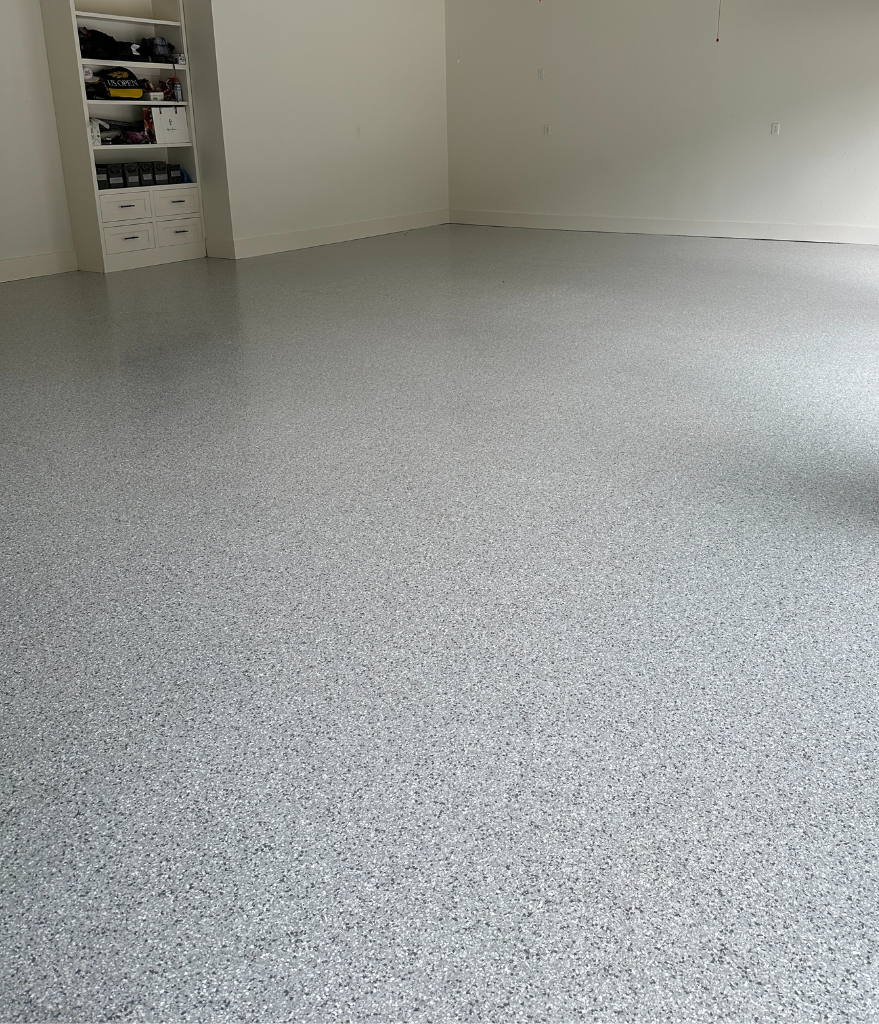
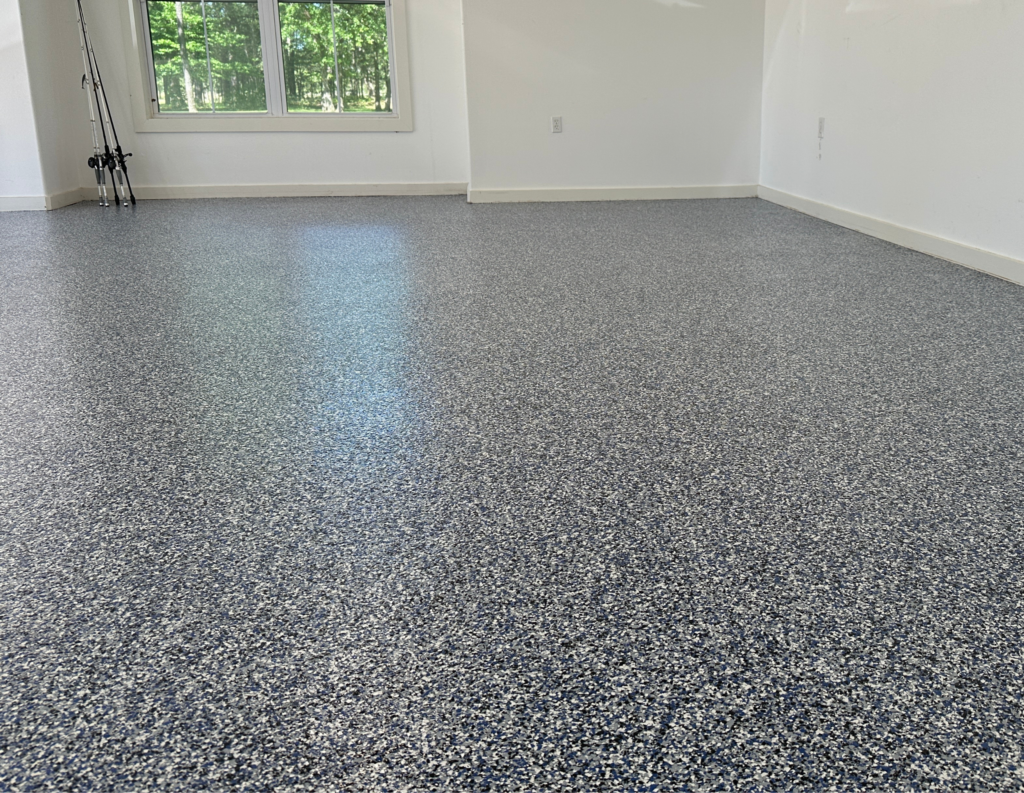
You do not have to choose between aesthetic appeal and durability for your workshop – a flake floor can provide both!


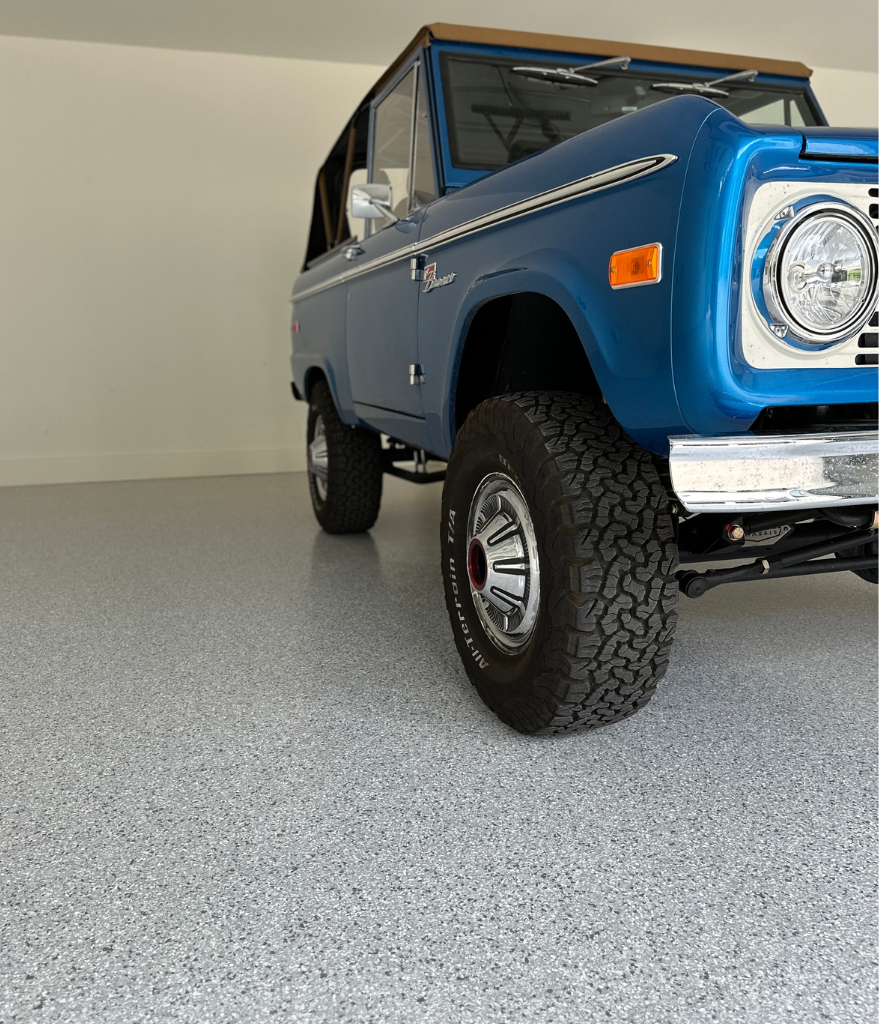
Transform Your Workshop

Flake epoxy flooring in workshops and mancaves offers a blend of practicality and aesthetic appeal. The durability, ease of maintenance, and versatility of these concrete floor coating options make them ideal for high-traffic spaces like a workshop. Additionally, the cost-effectiveness and potential to enhance your property value makes this alternative to flake epoxy flooring a smart investment for homeowners.

Ready for a Workshop Floor Transformation?

Contact us today to schedule a quote for your professional floor coating service and take the first step towards a stunning, durable garage floor! (903) 316-7684


Have questions About Epoxy Workshop Flooring? Check out the FAQs below.

Answers to some of the most common questions about getting concrete coatings in workshops and mancaves.

Our rubberized urethane base coat is engineered to withstand the unique challenges of workshop environments, including dropped tools, heavy equipment, and chemical spills. The flexible nature of our system absorbs impact better than rigid epoxy, while our polyaspartic top coat provides superior resistance to stains from oils, solvents, and other workshop fluids. This combination creates a surface that maintains its appearance despite the demands of an active workspace.

Absolutely! Our coating system is designed to support heavy machinery, tool chests, and workbenches without denting or damage. The rubberized urethane base coat helps distribute weight and absorb impact, while the polyaspartic top coat prevents surface marring. We recommend using protective pads for extremely heavy, stationary equipment with small footprints to distribute the weight more evenly.

Our smooth, sealed surface makes cleanup of workshop debris incredibly easy. Wood dust, metal shavings, and other particulates can be swept or vacuumed without embedding into the floor. The non-porous nature of our coating means sawdust won’t become ground into the surface as it would with bare concrete, keeping your workshop cleaner and reducing dust in the air.

Definitely. We offer various flake colors that can be customized to your preference. Some workshop owners prefer darker flake patterns that better hide metal shavings and stains, while others choose colors that enhance lighting and visibility.

While light foot traffic is possible after 24 hours, we recommend waiting the full 72 hours before moving heavy equipment back into place. This ensures complete curing and maximum durability of your new workshop floor.

Our polyaspartic top coat has exceptional heat resistance compared to traditional epoxy coatings. However, extreme heat from welding sparks or freshly cut metal can potentially mark the surface. We recommend using proper welding mats and allowing metal pieces to cool before placing them directly on the floor for maximum longevity.

Our professional system is entirely different from DIY “epoxy” kits. We use commercial-grade rubberized urethane for the base coat and polyaspartic for the top coat—materials that provide flexibility, impact resistance, and UV protection not available in retail products. Additionally, our thorough preparation process and professional application techniques ensure a beautiful finish that typically outlasts DIY applications by many years, which is why we can confidently offer our lifetime limited warranty.

Yes, your garage should be completely empty before our team arrives. This allows us full access to properly prepare and coat the entire floor without obstacles or dust contamination to your belongings.