I’m Handy – Can I Just Install Epoxy Flooring Myself?
If you’re handy, you might be tempted to roll up your sleeves and tackle an epoxy flooring installation on your own. After all, there are plenty of “how-to” guides and “DIY epoxy kits” out there. But is it really as simple as mixing chemicals, rolling it on, and waiting for it to dry? How do you ensure it holds up in East Texas climates – intense sun, humidity, and temperature swings?
Check out our chart below comparing DIY Epoxy, Professional Epoxy, and Professional Polyaspartic. Then we’ll wrap up with some considerations about whether that DIY route is truly the best move.
Side-by-Side Comparison
| Criteria | DIY Epoxy | Pro Epoxy | Pro Polyaspartic |
|---|---|---|---|
| Cost | Lowest initial (but potential re-dos) | Moderate to high | Higher initial, lower recoat needs |
| Surface Prep | Often minimal (acid etch, basic clean) | Mechanical grinding + repairs | Mechanical grinding, thorough crack fill, perfect leveling |
| UV Resistance | Very limited, prone to yellowing | Improved w/ UV topcoat but still can fade | Built-in UV inhibitors, resists yellowing significantly |
| Cure Time | Can vary, often 1–3+ days | Usually 1–3 days for foot traffic | Foot traffic in hours, vehicles ~48 hours |
| Longevity | 1–3 years if done well | 3–7 years or more (with proper upkeep) | Potentially 10+ years, minimal color change |
| Aesthetic Options | Basic colors, maybe single flake pack | Wider color range, custom blends/flakes | Flake & quartz combos, custom tints, unique finishes |
| Moisture Tolerance | Low—humidity can cause bubbling/peeling | Better, but not foolproof | Higher tolerance; mitigates some moisture vapor issues |
| Skill Requirement | Medium-high (timing is crucial) | Done by experienced pros | Experienced pros needed (fast cure times) |
Analysis
- DIY Epoxy
- Pros: Cheap and accessible, can be fun for a weekend project if you’re determined.
- Cons: Limited prep instructions, potential for peeling under East Texas humidity, risk of yellowing in sunlit areas.
- Professional Epoxy
- Pros: Better surface prep, improved product quality, typically longer lifespan than DIY.
- Cons: Still subject to potential yellowing if the door is open a lot. Cure times remain 1–3+ days.
- Professional Polyaspartic
- Pros: Highest durability, fast cure, minimal chance of yellowing, great with flake or quartz.
- Cons: Higher upfront cost, short working window demands skilled installers.
So, Can a Handy Person Do Epoxy Themselves?
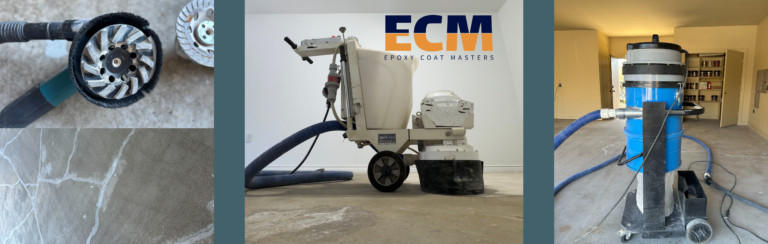
- Yes, but: If you’re extremely detail-oriented, have the right surface prep equipment (diamond grinder or shot blaster), and choose a quality product. Even then, UV and moisture concerns remain.
- No, if: You want guaranteed results that handle heavy vehicle traffic, direct sunlight, and possible moisture from East Texas humidity. Professional installation significantly reduces the margin for error.
Pro Tip: Homeowners who consider themselves “handy” often underestimate how precise mixing ratios, pot life timing, and leveling can be. Any misstep can yield an uneven or bubble-riddled floor.
If you’re a confident DIYer with mechanical grinding tools and thorough knowledge of epoxy chemistry, you might pull off a decent job. But for the typical East Texas homeowner, the risk of peeling, yellowing, and repeated re-dos can quickly outweigh the savings. Professionals can also introduce polyaspartic – a more UV-stable, faster-curing solution that stands up to local climate challenges.
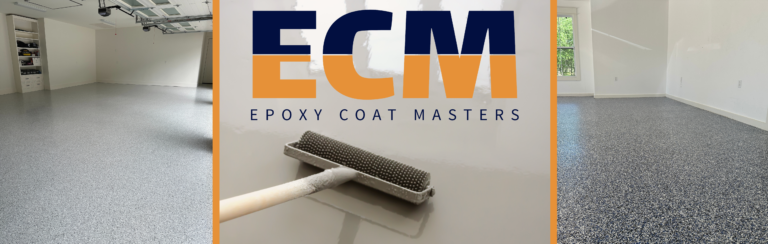
Thinking about going the professional route? Contact Epoxy Coat Masters for an honest appraisal. We’ll show you how a polyaspartic floor with flake or quartz broadcast can give your garage the durability and appearance you’re after, all without the guesswork and potential heartbreak of a DIY mishap.